We no longer support this browser. Using a supported browser will provide a better experience.
Please update your browser.
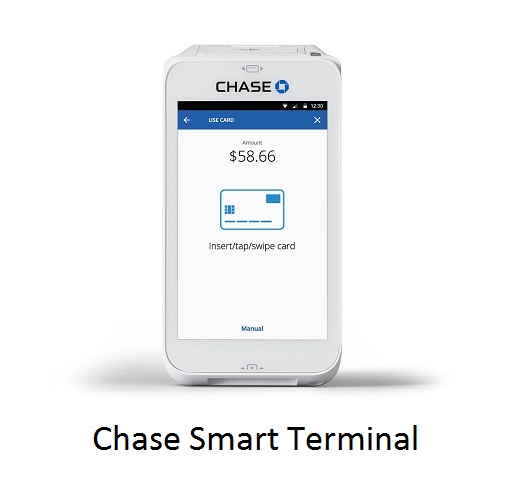
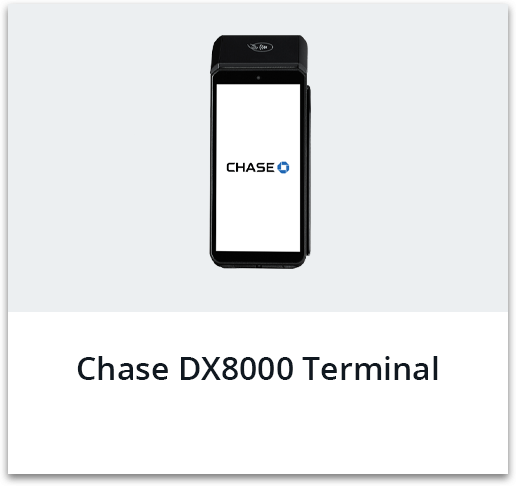
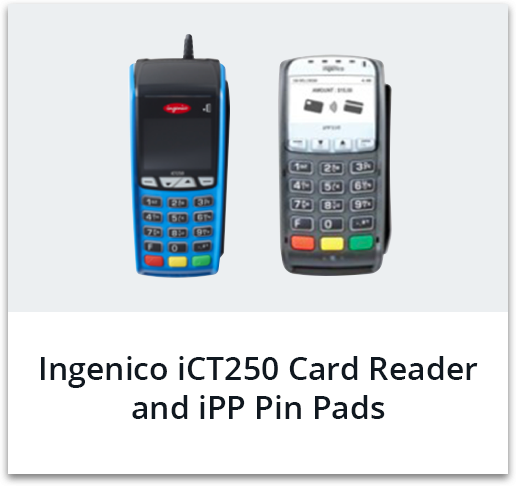
Important support resources for your card readers and virtual terminals.
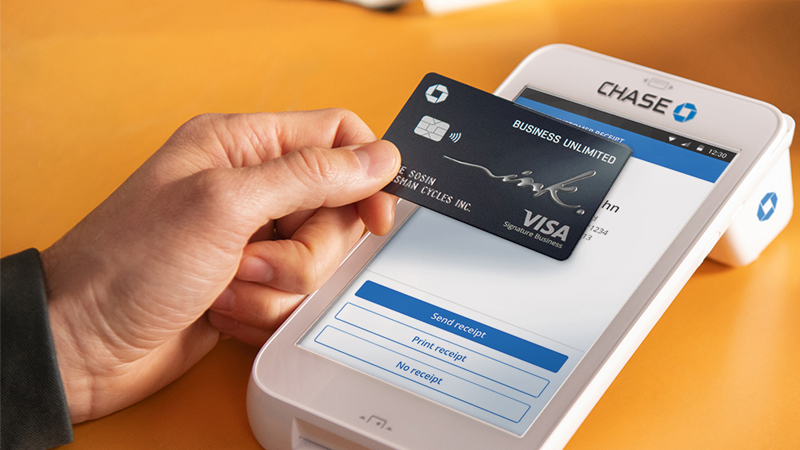
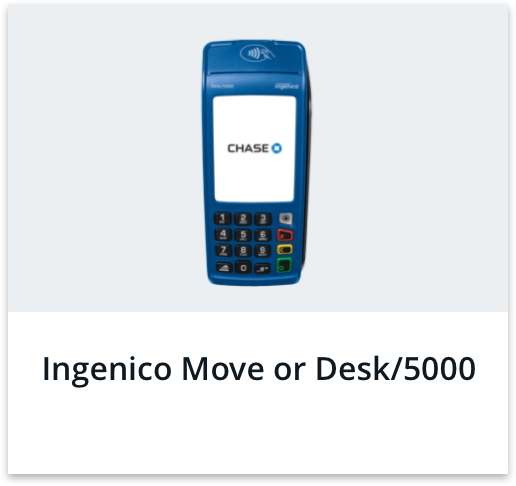
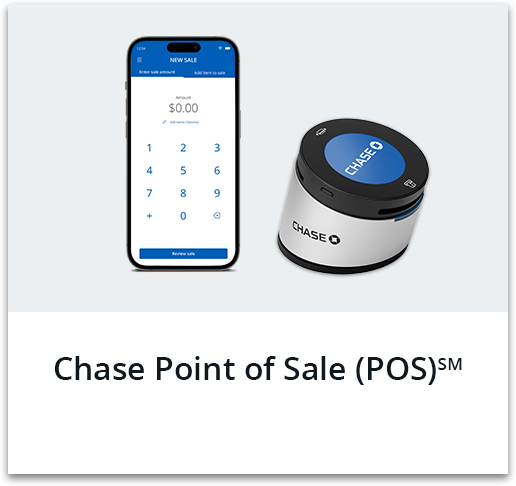
Learn how to use this handheld point of sale solution to accept credit cards at the counter and around your business.

Chase's website and/or mobile terms, privacy and security policies don’t apply to the site or app you're about to visit. Please review its terms, privacy and security policies to see how they apply to you. Chase isn’t responsible for (and doesn’t provide) any products, services or content at this third-party site or app, except for products and services that explicitly carry the Chase name.